
Request a FREE Estimate!
At Deluxe Construction NJ we take seriously every project. We are keen on making our customer happy. If you have a similar project don't hesitate to call us to request a free quote!
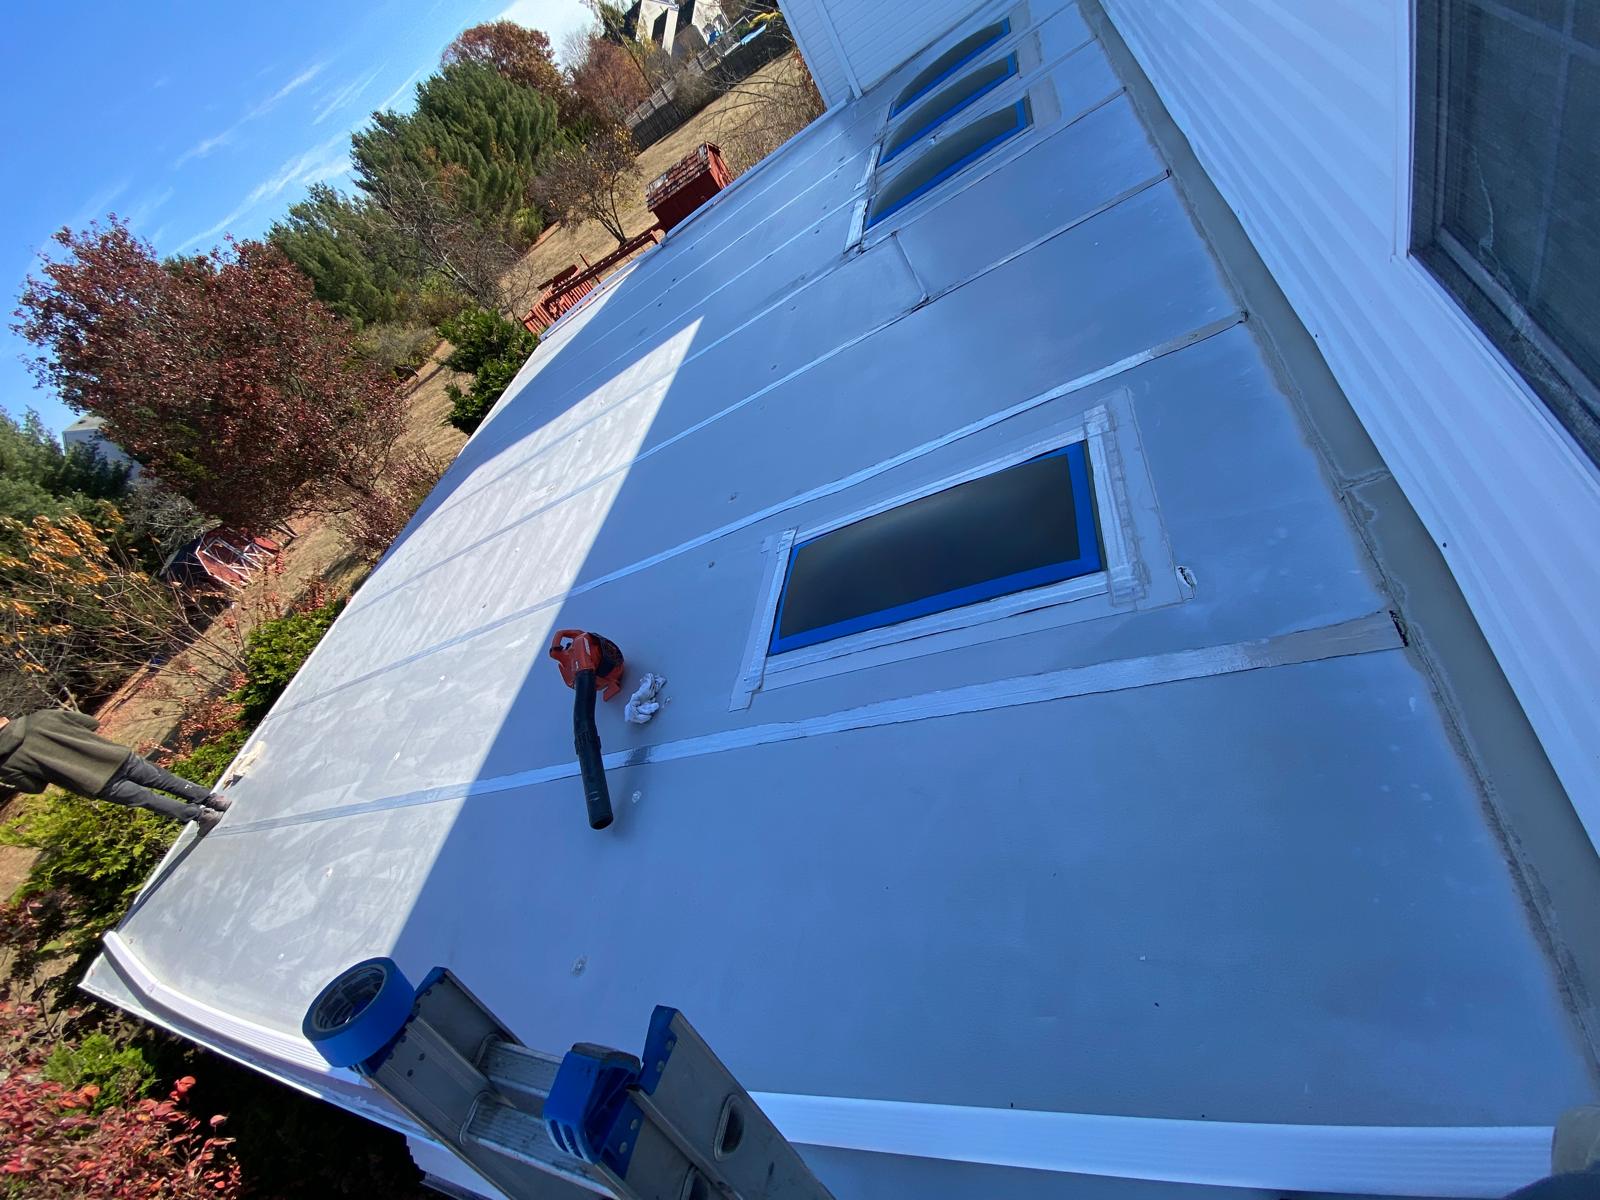
A new roof installation is a significant home improvement project that ensures your home is protected for years to come. Whether you’re installing a roof for the first time or replacing an old one, doing it correctly is crucial for the safety, durability, and longevity of your home. This step-by-step guide will walk you through the entire roof installation process in New Jersey, helping you understand what to expect and ensuring your project goes smoothly from start to finish.
Selecting the right roofing material is the first and most important step in the installation process. Different materials offer various benefits depending on your budget, aesthetic preferences, and local weather conditions. Below are the most common roofing materials for homes in New Jersey:
Choosing the right material will depend on factors like your budget, the climate in your area, and how long you plan to stay in the home.
Roof installation is not a DIY project. It’s important to hire a licensed and experienced roofing contractor who is familiar with New Jersey building codes. A professional roofer will:
Make sure to hire a licensed contractor who can provide proof of insurance and references to ensure that you are hiring a reputable professional.
In New Jersey, permits are typically required for roof replacements, especially if you are changing roofing materials. Permits ensure that the new roof complies with local building codes and safety standards.
Before the new roof can be installed, the old roof must be removed. This involves stripping away:
The purpose of removing the old roof is to inspect the underlying roof deck. If the deck is damaged, it will need to be replaced or repaired before the new roofing material can be applied. The removal process may take a few days depending on the size of your roof.
After the old roof is removed and the roof deck is inspected and repaired (if necessary), the next step is installing a protective underlayment. This is a critical layer of material that acts as a moisture barrier, helping to prevent water damage from rain, snow, or ice.
The underlayment will be installed across the roof deck, ensuring a tight seal between the roof and the new shingles or roofing material. This additional layer of protection contributes to the roof’s overall longevity and energy efficiency.
Once the underlayment is in place, the actual roof installation begins. This is the most critical phase of the process, as proper installation is necessary for the roof’s durability and overall performance.
Proper installation techniques will guarantee that the roof is sealed, leak-free, and can withstand the test of time and the elements.
After the main roofing materials are in place, flashing and ventilation must be installed.
Flashing is a crucial component that prevents water from leaking into your home, especially around roof penetrations such as chimneys, vents, skylights, and valleys. Flashing is typically made from metal and is placed around these areas to form a watertight seal.
Proper ventilation is essential for maintaining airflow in your attic. Ventilation helps to regulate temperature and moisture levels in the attic, preventing mold growth, heat buildup, and ice dams. The most common types of roof ventilation are ridge vents, soffit vents, and gable vents.
Ensure your contractor installs adequate ventilation to improve energy efficiency and protect your home.
Once the new roof is installed, your contractor will perform a final inspection to ensure that everything has been completed to the highest standards. This includes checking for any missed nails, gaps in flashing, or ventilation issues.
Finally, the worksite will be cleaned up to remove debris, nails, and leftover materials. A thorough cleanup ensures that your yard is safe and your home is fully protected.
Installing a new roof in New Jersey is a significant investment that requires careful planning and attention to detail. By following this step-by-step guide, you can ensure that your roof installation process goes smoothly, from selecting the right materials to hiring the right professionals and ensuring proper installation. Whether you’re replacing an old roof or installing a new one, working with an experienced contractor will help safeguard your home and provide you with long-lasting protection.
This step ensures that the roof is watertight, the materials are correctly installed, and there are no issues that could lead to future problems.
All in all, a roof installation is a significant investment that requires not only careful planning but also professional execution. In New Jersey, picking the right materials and working with an experienced contractor is crucial to ensuring the job is done correctly. By following these steps, you can be confident that your new roof will protect your home for years to come. Always remember to schedule regular roof maintenance to preserve the integrity of your installation.
At Deluxe Construction NJ we take seriously every project. We are keen on making our customer happy. If you have a similar project don't hesitate to call us to request a free quote!
This website uses cookies to provide you with the best browsing experience.